
Canon Tr4720 Setup
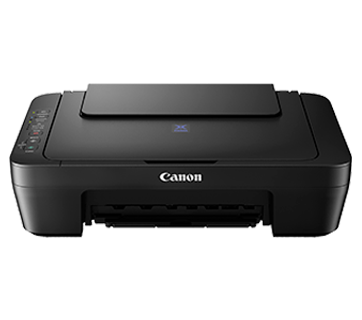
Setting up your new Canon PIXMA TR4720 doesn’t have to be complicated! Whether you’re upgrading your home office or just need a reliable All-in-One printer for daily tasks, the TR4720 is a fantastic choice that offers great features like wireless printing, scanning, and an auto document feeder.
To help you get started quickly and without the headache, we’ve put together a simple, step-by-step guide to take you from unboxing to your first print.
Step 1: Unboxing and Powering On
Let’s get the printer out of the box and ready to go.
1. Unbox everything: Lift your printer out of the box and place it on a flat, stable surface. Check the box to make sure you have the power cord, setup CD (though we’ll recommend downloading the drivers later), and your starter ink cartridges.
2. Peel off the tape: Canon secures all the moving parts for shipping. Carefully peel away all the protective orange tape and plastic from the outside of the printer. Don’t forget to lift the scanner lid and check for any tape or packing materials inside!
3. Plug it in: Connect the provided power cord to the back of the printer and plug it directly into a wall outlet.
4. Turn it on: Press the Power (ON) button. You will be prompted on the LCD screen to select your language and region. Use the arrow keys to make your selection and press OK.
Step 2: Installing the Ink Cartridges
Your Canon PIXMA TR4720 uses a two-cartridge system: PG-275 (Black) and CL-276 (Color).
1. Open the front cover/scanning unit of the printer. Wait a moment the ink cartridge holder will automatically slide into view.
2. Take the cartridges out of their packaging and gently peel off the orange protective tape. Crucial Tip: Avoid touching the copper contacts or the print head nozzles, as the oils from your skin can cause printing errors.
3. Insert the Color cartridge into the left slot (marked with a “C”) and the Black cartridge into the right slot (marked with a “B”).
4. Push them up and in until they click securely into place, then close the cover.
Step 3: Loading the Paper
Next, let’s give the printer something to print on.
1. Pull out the paper cassette at the front bottom of the printer.
2. Slide the paper guides to the outer edges.
3. Load a stack of plain A4 or Letter-sized paper into the tray, print-side facing down.
4. Adjust the paper guides so they rest snugly against the edges of the paper stack without bending it.
5. Slide the cassette back into the printer and pull out the paper output tray extension.
Step 4: Downloading the Drivers (The Easy Way)
You want your computer or smartphone to communicate flawlessly with the TR4720. While a CD is included, downloading the software online ensures you get the most up-to-date, bug-free version.
1. Open your web browser on your PC or Mac and head over to the official Canon setup site (usually ij.start.canon or Canon’s official support page).
2. Type your printer model—TR4720—into the search bar.
3. Click on Download to grab the Master Setup file for your operating system.
4. Once it finishes downloading, double-click the file to open the setup wizard and follow the on-screen prompts.
Step 5: Connecting to Wi-Fi
Wireless printing is where this printer truly shines. You can connect it during the software installation using the “Easy Wireless Connect” method.
1. During the setup wizard on your computer, choose Wireless Connection.
2. The software will ask you to prepare the printer. Go to your printer, press and hold the Wireless/Link button (or navigate to Wi-Fi setup on the screen) until the screen displays “Processing…” or indicates it is ready to connect.
3. Head back to your computer screen and follow the prompts. The installer will temporarily connect to the printer, verify your home Wi-Fi network, and do the heavy lifting of sending your network password straight to the printer.
4. Manual Alternative: If you prefer, you can press the Setup button on the printer, navigate to Wi-Fi Setup > Manual Connect, select your Wi-Fi network from the list, and type in your password using the printer’s keypad.
You’re All Set!
Once the software installation finishes, you’ll be prompted to do a test print. If the page comes out looking sharp, congratulations! Your Canon PIXMA TR4720 is officially set up and ready to handle all your printing, copying, and scanning needs.