
Step by Step Guide for Your Canon PIXMA MG2522 Setup
Setting up your new Canon PIXMA MG2522 is a straightforward process that gets you ready to print, scan, and copy in no time. Whether you are using a Windows PC or a Mac, this guide will walk you through the essential steps to get your printer up and running reliably.
Step 1: Unboxing and Prepping Your Printer
1. Unbox carefully: Carefully remove your printer from the box and place it on a flat, sturdy surface.
2. Remove protective tape: Canon uses orange tape to secure the internal parts during shipping. Be sure to open the scanning unit and the front cover to remove all tape and any protective packaging materials.
3. Power it up: Connect the provided power cord to the back of your printer and plug it into a wall outlet. Press the Power button to switch it on.
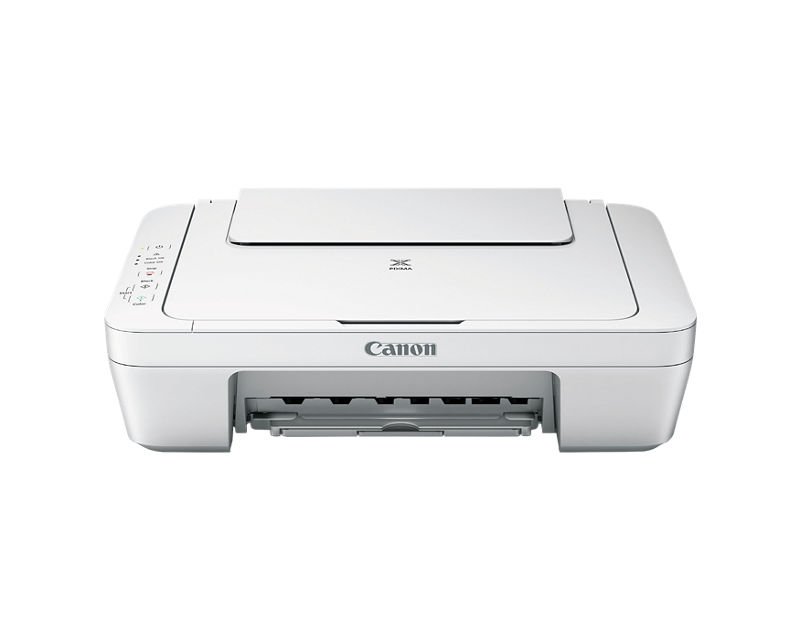
Step 2: Installing the Ink Cartridges
The PIXMA MG2522 uses two cartridges—one for Black and one for Color.
1. Open the front cover. The ink cartridge holder will automatically slide into the center.
2. Take the cartridges out of their packaging and gently remove the protective tape. Tip: Be careful not to touch the copper-colored electrical contacts or the print head nozzles, as this can cause printing errors.
3. Insert the Color cartridge into the left slot and the Black cartridge into the right slot.
4. Push them in until they click into place, then close the front cover.
Step 3: Loading the Paper
1. Pull up the rear paper support tray.
2. Slide the paper guide to the left.
3. Load your stack of A4 or Letter-sized paper with the print side facing up.
4. Adjust the paper guide so it rests snugly against the edge of the paper stack, then pull out the paper output tray extension at the front.
Step 4: Downloading the Latest Drivers
Because the MG2522 connects via USB, installing the correct driver is the most important step for getting your computer to recognize the device.
1. Go to the official Canon Support website on your computer.
2. Search for “PIXMA MG2522” to find the specific product page.
3.Navigate to the Software & Drivers section and download the s etup file for your operating system (Windows or macOS).
4. Run the downloaded installer file. Follow the on-screen instructions carefully.
5. When prompted by the installer, connect your USB cable between your printer and your computer.
6. Once the computer detects the printer, the software will complete the installation, and you are ready to go.